DIY Tutorial: Installing Shoe Molding for a Polished Finish
Are you looking to enhance the aesthetics of your home with a simple yet impactful project? Installing shoe molding can be your perfect solution. This DIY shoe molding installation tutorial provides clear, step-by-step guidance to help you learn how to install shoe molding effectively, even if you’re a beginner. Shoe molding not only covers gaps between your flooring and baseboards but also adds an extra dash of elegance to your room decor.
In this comprehensive guide, you will discover essential techniques and best practices to ensure a professional finish. Whether you’re seeking to camouflage uneven floors or simply elevate your home’s look, this shoe molding installation guide equips you with everything needed for a successful project.
Key Takeaways
- Shoe molding is essential for a polished look, covering gaps between flooring and baseboards.
- Cutting at 45-degree angles is crucial for proper installation.
- It comes in various materials such as wood, MDF, and PVC, each suitable for different applications.
- Using the right tools, like a miter saw and finish nails, can streamline your project.
- Shoe molding hugs uneven floors, making it ideal for varied surfaces.
- With the right techniques, you can easily achieve a professional finish on your own.
- This project is manageable within a reasonable timeframe, even for beginners.
The Basics of Shoe Molding
Shoe molding serves as a decorative trim piece connecting the baseboard to the flooring, effectively addressing gaps that may appear. Understanding what is shoe molding reveals its practical and aesthetic attributes. This molding plays a vital role in concealing uneven edges while also preventing dust build-up, which is essential for maintaining a clean environment.
The shoe molding description defines it as narrower and less rounded compared to quarter round molding, resulting in a more polished finish. The basics of shoe molding highlight its flexibility, making it an ideal choice for rooms with hardwood flooring. Unlike caulk, which might not offer the same visual appeal, shoe molding ensures a sophisticated look that enhances the overall design of any space.
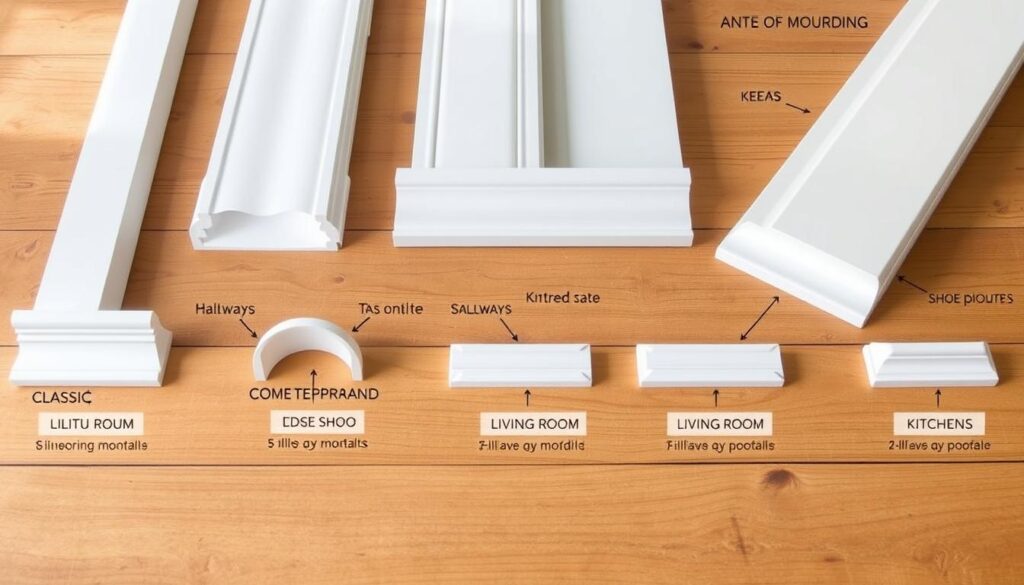
Incorporating shoe molding is a popular option among homeowners seeking a professional touch. It comes in various sizes, typically ranging from 7/16-inch to ½-inch in width and from ¾-inch to 1-inch in height. This molding is available in multiple materials like pine, hardwood, MDF, and polystyrene, catering to different aesthetic preferences.
When contemplating installation, proper techniques are important for a seamless result. One should focus on accurate measuring and cutting to achieve a precise fit with baseboards. Overall, shoe molding represents a valuable addition to any home renovation, combining functionality with style.
Importance of Installing Shoe Molding
Shoe molding plays a pivotal role in enhancing the overall aesthetic of your interiors. Among the many reasons to install shoe molding, it effectively conceals expansion gaps and cut edges, creating a seamless transition between floors and walls. This finish provides a polished appearance, elevating the style of any room.
Beyond aesthetics, shoe molding serves practical purposes. It helps manage height differences between flooring and baseboards while offering protection from cleaning tools and preventing damage. This shoe molding necessity ensures longevity and durability in high-traffic areas.
Another significant aspect of shoe molding is its ability to reduce energy waste. By filling gaps between walls and floors, it limits drafts, contributing to a more energy-efficient home. The benefits of shoe molding extend beyond mere decoration, offering functional solutions for comfort and efficiency.
In summary, installing shoe molding presents numerous advantages, from enhancing design to fulfilling practical requirements. Its versatility, coupled with the variety of materials available, makes it a favored choice for homeowners looking to improve their living spaces.
Tools and Materials Needed for Shoe Molding Installation
The installation of shoe molding enhances the aesthetic of any space. Getting started requires a good understanding of the tools and materials essential for this project. Knowing the right tools needed for shoe molding installation can make a noticeable difference in efficiency and outcome.
Essential Tools
Starting with the right shoe molding tools is vital for success. Here’s a list of essential tools for molding:
- Miter saw: Perfect for precise angle cuts.
- Pneumatic brad nailer: Facilitates quick and secure fastening.
- Belt sander: Ensures a smooth finish on the edges.
- Wood block: Helps achieve a snug fit during installation.
- Pencil: Key for marking measurements accurately.
- Wood glue: An option for extra adhesion, though professionals prefer nail guns for convenience.
Materials Overview
The selection of shoe molding materials plays a critical role in the durability and aesthetic appeal of the finished project. Here’s a quick look at the various types of molding materials commonly used:
| Material Type | Cost per Linear Foot | Durability | Maintenance |
|---|---|---|---|
| Pine | $1.50 | Moderate | Low |
| Oak | $3 – $5 | High | Medium |
| Maple | $5 – $10 | High | Medium |
| MDF | $1 | Moderate | Medium |
| Polystyrene | $1.50 | Low | Low |
| PVC | $1 | Low | Very Low |
Properly selecting the right materials for shoe molding ensures a fitting solution for your project needs and style preferences. With the combination of appropriate tools and materials, achieving a polished look for any room becomes much easier.
Choosing the Right Shoe Molding for Your Project
When selecting shoe molding for your home, it is essential to explore various types of shoe molding available. Understanding the different options will aid in choosing shoe molding that aligns with your aesthetic preferences and functional needs. The right molding can enhance the overall appearance of your space while effectively covering gaps between flooring and baseboards.
Types of Shoe Molding
There are several shoe molding options to consider:
- Wood: A classic option that offers durability and a rich appearance.
- MDF: A cost-effective choice that can be easily painted or stained.
- Polystyrene: An affordable alternative that is lightweight and simple to install.
Shoe molding is often less visually obtrusive than other alternatives like quarter rounds. It protrudes less from the wall, making it a popular choice for finishing rooms with hardwood flooring, creating a clean and elegant look.
Unfinished vs. Prefinished Molding
When choosing shoe molding, you will need to decide between unfinished and prefinished options. Unfinished molding requires additional work to sand, stain, and seal to match your decor. This choice is ideal for those who prefer a hands-on approach and want to customize their finish.
On the other hand, prefinished shoe molding is ready to install right out of the box. The advantages of prefinished and unfinished molding vary based on your project’s timeline and design goals. Prefinished molding can significantly reduce installation time, making it a practical option for busy homeowners. However, unfinished molding allows for complete control over the final appearance.

| Type | Advantages | Disadvantages |
|---|---|---|
| Unfinished Molding | Customizable finish, DIY-friendly | Requires additional time for preparation |
| Prefinished Molding | Ready to install, saves time | Less customization available |
Considering these factors will help ensure that you select the best shoe molding to complete your project, enhancing both functionality and aesthetics in your space.
Steps for Installing Finished Shoe Molding
Installing shoe molding can elevate the look of any room while offering protection against scuff marks. Following a few simple steps makes the process approachable for first-time installers. This section covers essential stages, from choosing the right molding to accurate cutting techniques.
Choose Your Molding
When choosing shoe molding, consider the material and finish that best suits your project. Options like pine and oak offer affordability and durability, while MDF presents a cost-effective choice that comes pre-primed. Proper molding height is crucial; typically, shoe molding has a greater height than the protrusion length from the wall. This guarantees coverage for any gaps between flooring and baseboards.
Mark Your Molding
Measuring for shoe molding is vital for achieving a seamless fit. Begin by measuring the wall lengths where the molding will be installed, allowing for any corners. Marking shoe molding involves using a pencil to indicate cuts accurately. To ensure precision, how to mark molding correctly influences the final look. It is best to test the placement of each piece before cutting, allowing for adjustments.
Cutting Techniques
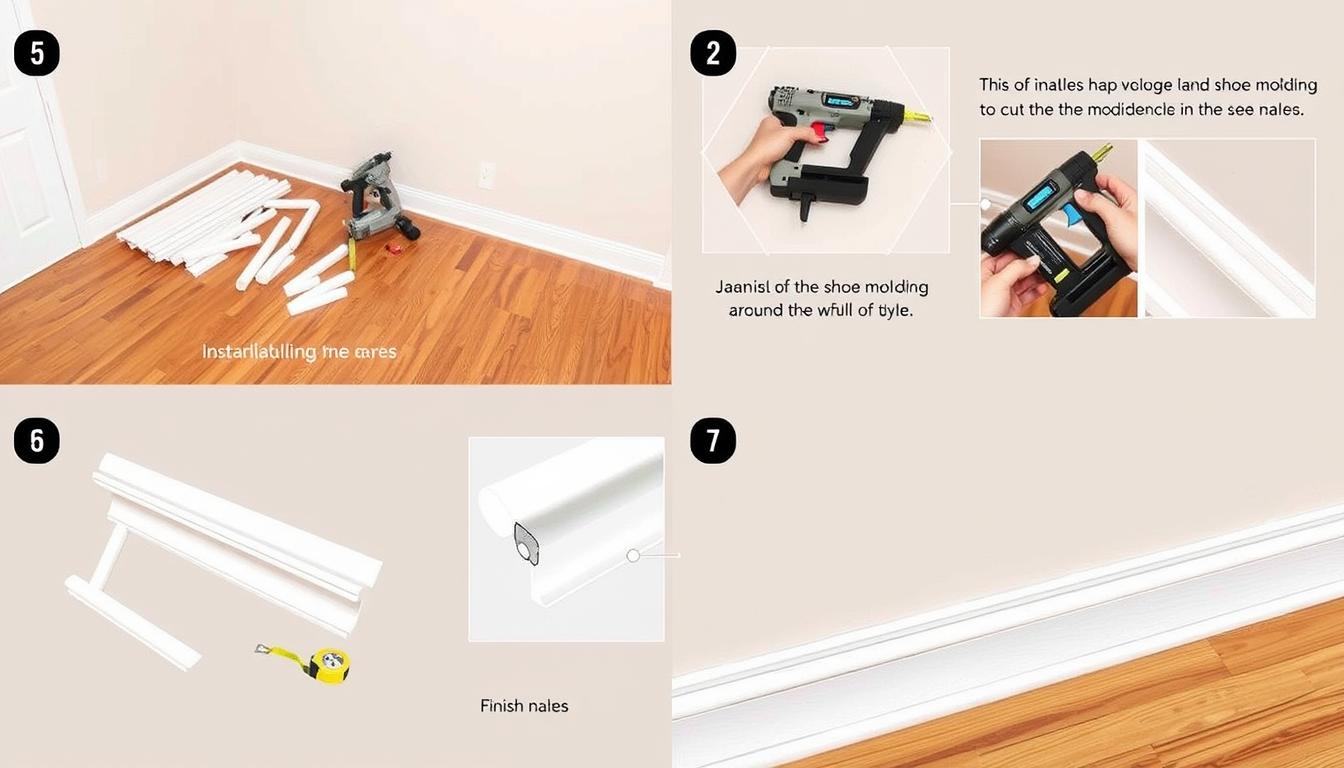
Employing the right shoe molding cutting techniques leads to polished results. Using a miter saw, cut each piece at 45-degree angles for corners; this ensures tight-fitting joints. Remember, testing the fit before securing the molding helps in making necessary adjustments. When finishing, ensure nails are sunk using a nail set to create a smooth surface. For more detailed guidance on steps, check out this helpful resource.
How to Install Shoe Molding Properly
Installing shoe molding adds a polished finish to your flooring and enhances the overall appearance of the room. Understanding the proper shoe molding installation techniques is crucial for achieving a seamless look. Start by measuring the wall where the molding will be placed. Be aware that baseboards typically range from 3 1/2 to 6 inches in height and can come in lengths up to 94-1/2 inches. It’s beneficial to choose lengths that minimize visible seams.
Before initiating the installation process, ensure that the floor is level. Using a 4-foot level will help determine if adjustments are necessary. For those interested in professional methods for shoe molding installation, it’s important to note that baseboards should be positioned 1 inch above the subfloor if installing before carpet. When done after carpet installation, maintain the baseboard height consistent with homes not using additional trim. For a flawless final appearance, consider purchasing the shoe molding at a length that allows for uninterrupted coverage.
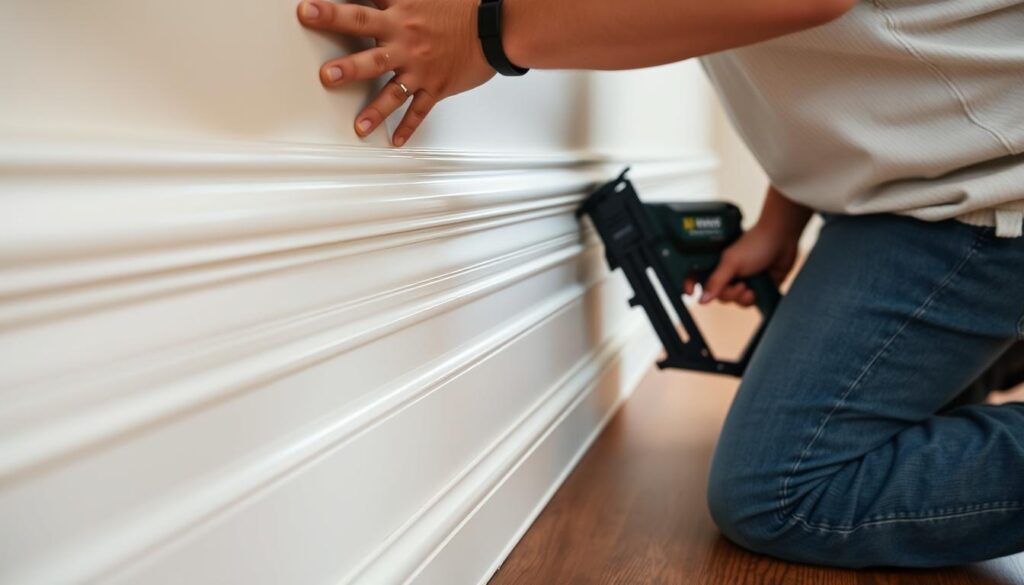
Align the molding tightly against the floor and press it into the baseboard. Utilize finishing nails to secure the molding. If any gaps appear between the molding and the wall, apply caulk or wood putty as a last finishing step. Larger gaps exceeding 1/4 inch might require adjustments in corner angles to ensure a proper fit. Once your shoe molding is installed, painting or staining should ideally be done before installation, making touch-ups far easier.
The time taken for installing shoe molding varies based on experience. A DIY project may take a couple of hours for a medium-sized room, while a professional can complete it in approximately 30 minutes. Interested readers can learn expert tips on proper shoe molding installation to enhance their skills further.

Best Practices for Shoe Molding Installation
Achieving a flawless shoe molding installation requires attention to detail and the right techniques. Following best practices will ensure a no-gap fit for shoe molding and enhance the overall aesthetic of your project. Knowing how to cope inside corners and install outside corners properly becomes essential for a polished finish.
Ensuring a No-Gap Fit
To achieve a tight fit for shoe molding, accurate measurement and cutting are critical. Begin by measuring the surfaces needing molding, then add around 10% for cuts. Using a miter saw, cut corners at 45 degrees for a snug fit against the casing. Employ a pneumatic brad nailer for efficient fastening with one hand. It is advisable to avoid driving nails too close to the ends of the molding to prevent unwanted splitting. Utilizing a wood block can help press down the molding while nailing, ensuring a secure fit without gaps.
Cope Inside and Install Outside Corners
Coping inside corners is a widely recommended technique for achieving tightly fitted joints. Instead of mitering, coping provides better fitting capability, especially in rooms with less-than-perfect wall squareness. The process involves cutting the end of one piece of molding to fit snugly against the adjoining section, enhancing the joint’s appearance. For outside corners, a miter cut is the best approach, allowing both pieces to come together seamlessly. These shoe molding corner techniques not only improve the aesthetic value but also provide strength to the installation.
| Technique | Description | Benefits |
|---|---|---|
| No-Gap Fit | Achieved through precise measurement and cutting techniques. | Enhances aesthetic appeal and prevents debris buildup. |
| Coping Inside Corners | Cutting the end of molding to fit tightly against adjoining pieces. | Better fit in uneven walls and improved visual integrity. |
| Installing Outside Corners | Mitering the edges of shoe molding at a 45-degree angle. | Creates seamless joints that enhance the overall look. |
Tips and Tricks for a Flawless Finish
Achieving a professional-quality look for your shoe molding is within reach with the right shoe molding finish tips. After installation, it’s vital to focus on the small details that can significantly enhance the overall appearance. Start by applying caulk to any seams or gaps, particularly in the inside corners where the trim meets the wall. This step not only helps to conceal imperfections but also provides a seamless look that elevates the entire space.
Additionally, don’t overlook the importance of addressing nail holes and imperfections with wood filler. For a truly flawless installation, make sure to sand the areas with fine sandpaper (150-grit or higher) to ensure a smooth finish before touching up with paint or stain. Remember, timing is everything in finishing shoe molding; the sooner you address these details, the better the end result will be.
Lastly, always double-check that all nails are properly set and secured. Utilizing a mix of Loctite construction adhesive and 1.5-inch brad nails can help secure your trim firmly in place. Incorporating these flawless installation tips into your final steps will not only enhance the polish of your shoe molding but also provide a durable foundation for your beautiful home finish.


