👉 Let’s stay connected on social media!

Lemon Lush Dessert

!
QUICK REMINDER:
While we have provided a jump to recipe button, please note that if you scroll straight to the recipe card, you may miss helpful details about ingredients, step-by-step tips, answers to common questions and helpful guidance to improve your results.
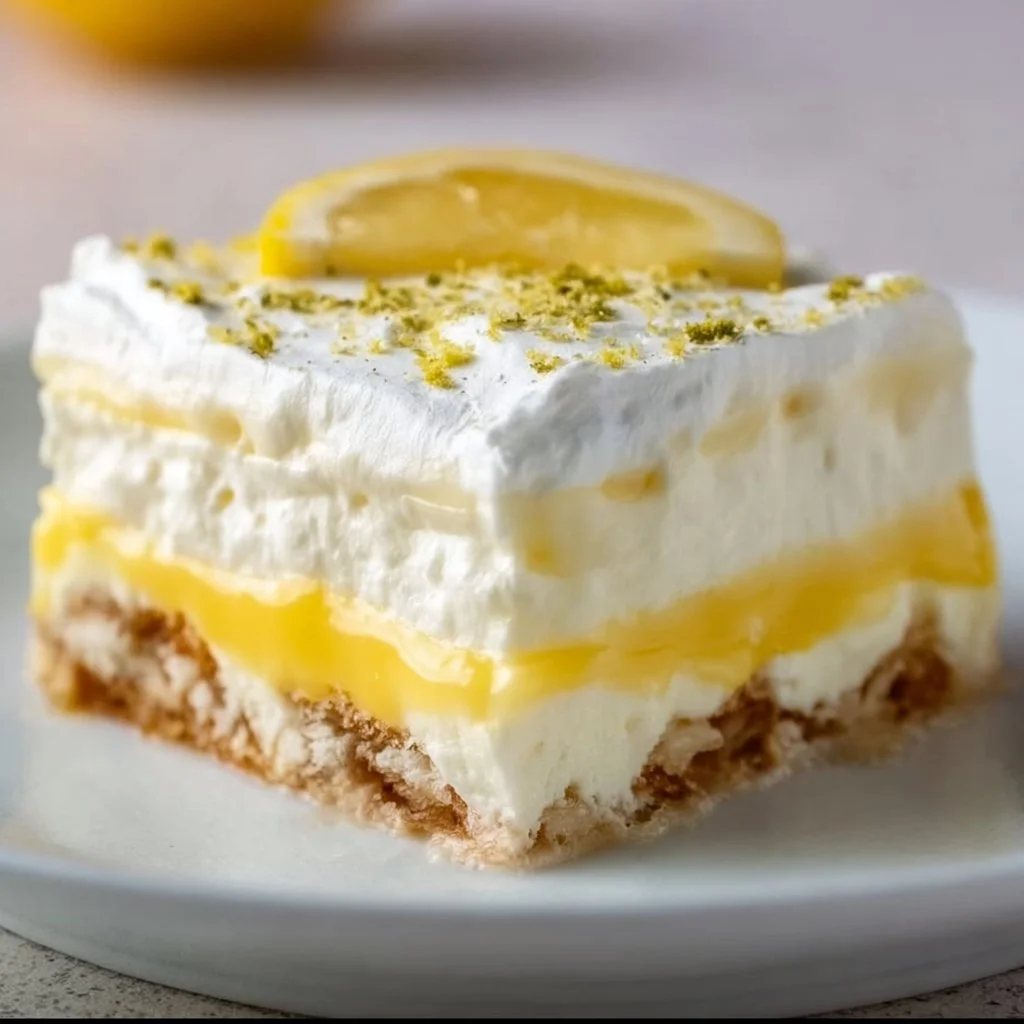
Lemon lush dessert is my sunshine-in-a-pan recipe, my mood booster, my “oh wow, THAT was easy” treat. This lemon lush dessert is tangy, creamy, and just ridiculously refreshing, and it layers all that goodness on a simple buttery crust. You get bright lemon, silky cream cheese, fluffy topping, and a cool, chilled bite that honestly tastes like summer vacation. I first stumbled into this recipe years ago when I needed a potluck dessert that could ride around Austin heat and still taste amazing, and this one just… delivered. Again and again. It’s make-ahead friendly, light but indulgent, and it looks fancy without actually being fancy. That’s the dream, right?
Why This Lemon Lush Will Totally Win You Over
You are going to fall in love with this lemon lush because it hits that sweet-tart balance SO perfectly and it feels special without being stressful. It’s cool and creamy, so it works beautifully for hot days, but it’s also bright enough to wake up those heavy winter dinners. If you’re cooking for kids, the layers feel like dessert magic, and if you’re feeding adults, everyone thinks you spent hours on it (you didn’t). It’s amazing for make-ahead planners, busy parents, Pinterest scrollers who just saved 47 recipes and want one that actually WORKS. Plus, this dessert is lighter than a big frosted cake, a little easier on the stomach, and you can totally control portions with neat little squares. The crust is buttery and just a little sweet, the cream cheese layer is rich and creamy, and that lemon pudding topping is so bright and refreshing that people always, always go back for seconds, sometimes thirds, not even sorry. And if you’re newer to baking? Breathe. You can do this, you really can, and it’s going to turn out beautifully.
What You’ll Need (and How to Make It Yours)
1 cup all-purpose flour
1/2 cup unsalted butter, melted
1/4 cup powdered sugar
8 oz cream cheese, softened
1 cup granulated sugar
1 cup whipped topping
1 cup lemon juice
1 package lemon pudding mix
2 cups milk
The ingredient list is short, simple, and mostly pantry-friendly, which I LOVE. The crust is just flour, melted butter, and powdered sugar—no fancy equipment, no chilling dough, just stir and press. Cream cheese gives the middle layer that cheesecake-style richness. If you want to lighten it up, you can use reduced-fat cream cheese and it still works really well. The whipped topping keeps everything airy; if you prefer, you can fold in lightly sweetened homemade whipped cream, but remember it won’t hold quite as long in the fridge.
Lemon juice and lemon pudding mix are where the magic happens. Fresh lemon juice will give you the brightest, freshest flavor (I usually grab a bag of lemons from H‑E‑B here in Austin), but bottled works in a pinch if that’s what you have, no guilt. The pudding mix keeps the top layer thick and sliceable, almost like a lemon silk. For milk, use whatever you usually drink; whole milk will be a bit creamier, but 2% is great and budget-friendly.
Cost-wise, this is a very reasonable dessert for feeding a crowd—most of these ingredients are classic staples, and store brands are totally fine. Try switching the pudding flavor once in a while (lemon is the star here, but honestly, a little experiment with vanilla or even a lemon-vanilla combo can be fun). This is YOUR pan, so play a little.
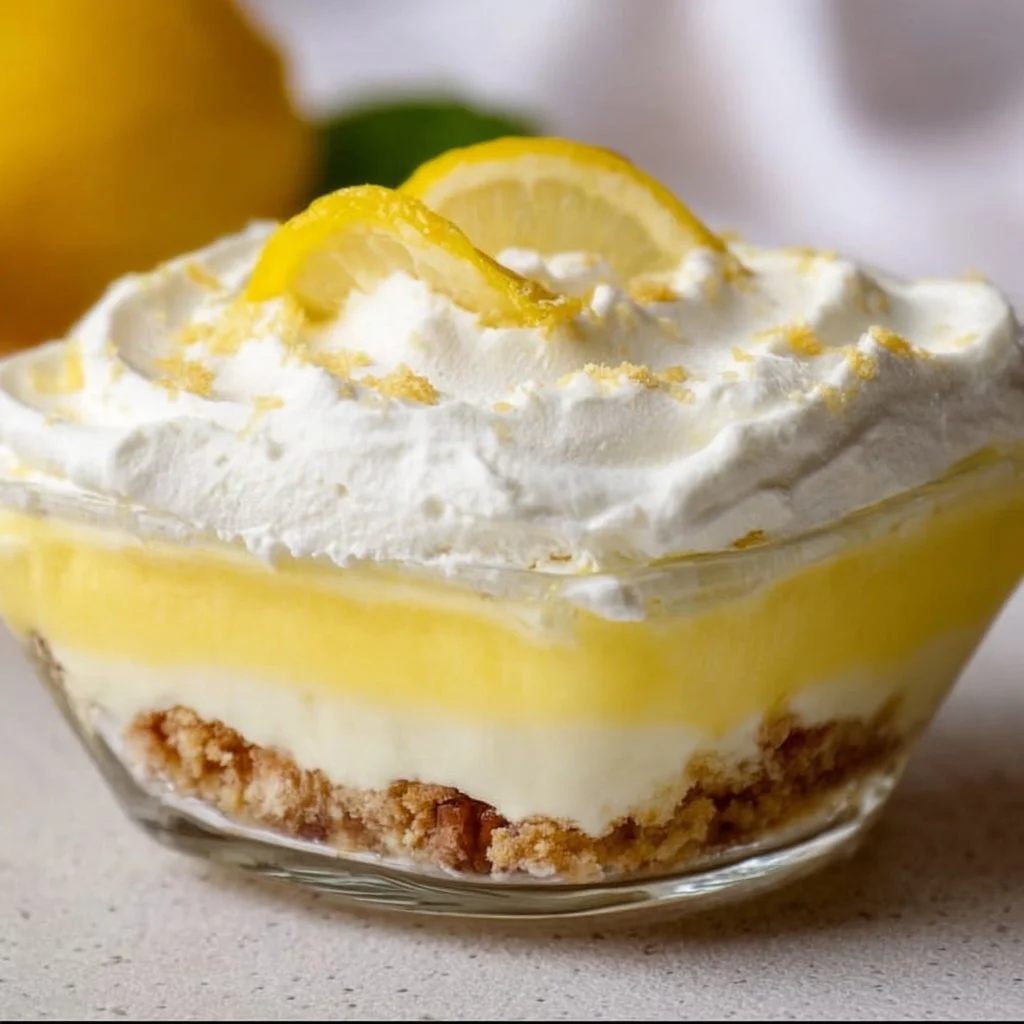
Step‑by‑Step: How This Lemon Lush Comes Together
First, let’s talk crust. Preheat your oven to 350°F (175°C). In a mixing bowl, combine the flour, melted butter, and powdered sugar. Stir until everything is evenly moistened—it’ll look like a soft, crumbly dough, not like cake batter. Press the mixture firmly into the bottom of a greased 9×13 inch baking dish. Try to get it as even as you can, but don’t stress about perfection. Bake for about 15 minutes; it should look set and just barely golden on the edges. Let it cool completely before you go to the next layer. If it looks a little uneven, don’t worry, the creamy layers on top totally hide that.
Now for the cream cheese layer. In another bowl, beat the softened cream cheese and granulated sugar until smooth and fluffy. If it looks lumpy at first, keep going—softening the cream cheese fully is key here, so next time you can let it sit a bit longer on the counter. Once it’s smooth, gently fold in the whipped topping. You want it light and airy, not overmixed. Spread this mixture over the cooled crust. Go all the way to the edges, sealing that crust underneath so the lemon layer doesn’t sneak down and make it soggy.
Next comes the bright lemon layer. In a separate bowl, whisk together the lemon juice, lemon pudding mix, and milk until thickened. It will start out runny, then suddenly it’ll begin to thicken as the pudding sets—this usually takes just a couple of minutes. If it looks a bit too thin, give it another minute of whisking and a little rest; it thickens as it sits. Pour this mixture over the cream cheese layer and gently spread it so it’s even and smooth.
Now the hardest part: chilling. Refrigerate the whole pan for at least 2 hours, or until fully set. Overnight is even better if you love super clean slices. Once it’s chilled, cut into squares with a sharp knife, wiping the blade between cuts if you want picture-perfect pieces. Serve these beauties chilled; the contrast of cold, creamy, tangy, and buttery is just unreal.
Smart Tips to Make Your Lemon Lush Foolproof
If you can remember one thing, let it be this: let the crust cool completely before adding that cream cheese layer, otherwise you’ll get a melty, slippery situation. For make-ahead, you can assemble the whole dessert the night before and keep it covered in the fridge; it actually tastes even better after resting. Store leftovers tightly covered in the refrigerator for up to 3–4 days—no need to reheat, this is a serve-cold dessert, which is nice because it’s zero effort when you want a treat.
For bigger gatherings, this recipe doubles easily; just use two 9×13 pans. For a smaller family, you can halve it and use an 8×8 dish, checking the crust a couple minutes early. Want it extra kid-friendly? You can dial back the lemon juice slightly and rely more on the pudding’s sweetness, or add a light dusting of crushed graham crackers on top for a fun texture. And if something goes “wrong” (like a slightly cracked top), just add a little extra whipped topping swirl or some lemon zest and suddenly it looks intentional and fancy. Teacher-voice here: follow each step, don’t rush the cooling and chilling, and you’ve absolutely got this.
How to Serve and Enjoy Every Last Bite
I love serving lemon lush in neat squares on a simple white plate with just a tiny sprinkle of lemon zest or a thin lemon wheel on top—it looks so bright without any extra work. It’s perfect after grilled chicken, fish, or any heavy holiday meal that needs a refreshing finish. This dessert travels well for potlucks, church gatherings, school events, you name it; chill it, cover it, and you’re good to go.
Pair it with iced tea, sparkling water with lemon, or coffee for a fun contrast. For a brunch spread, it sits beautifully next to a fruit salad and some egg bakes. Leftovers (if you have any!) can be crumbled into little lemon parfaits in jars with berries layered in between, total leftover glow-up. I keep saying it because it’s true: this lemon lush feels special every single time, and people will ask you for the recipe again and again and… again.
Lemon Lush Dessert FAQ
Yes, and honestly you should. Making it 6–24 hours ahead gives the layers time to set and the flavors to really settle in. Just cover the pan tightly and keep it in the fridge until serving.
You can, but keep in mind homemade whipped cream is a little softer and can deflate faster. If you plan to serve it the same day, it’s lovely. If you’re storing it for a couple days, whipped topping holds the structure better.
First, give it a few more minutes to sit after whisking; pudding keeps thickening as it rests. Make sure you used cold milk and the correct amount. If it’s still very thin, you can chill the mixture for 10–15 minutes, whisk again, and then pour it on.
Yes, you can swap the all-purpose flour for a 1:1 gluten-free baking blend for the crust. Check that your pudding mix is labeled gluten-free as well, and you’re set.
Chill the dessert thoroughly, even a bit longer than you think, then use a sharp knife and wipe it clean between each cut. You can also gently score your square pattern before cutting all the way through.
This lemon lush dessert is easy, it’s bright, it’s creamy, and it just makes people happy—every pan I’ve ever brought to a gathering has come home basically scraped clean. If you try it, tell me how it went, what little twists you added, what your family thought. Tag me on social or drop a comment so I can cheer you on from my kitchen here in Austin. You can absolutely pull this off, and once you do, it might just become your new “bring this, please!” recipe too…

Lemon Lush Dessert
A bright, tangy, and creamy dessert layered on a buttery crust, perfect for any occasion, especially on hot days.
Ingredients
For the crust
- 1 cup all-purpose flour
- 1/2 cup unsalted butter, melted
- 1/4 cup powdered sugar
For the cream cheese layer
- 8 oz cream cheese, softened Use reduced-fat for a lighter version.
- 1 cup granulated sugar
- 1 cup whipped topping Can substitute with lightly sweetened homemade whipped cream.
For the lemon layer
- 1 cup lemon juice Fresh juice preferred, bottled works in a pinch.
- 1 package lemon pudding mix
- 2 cups milk Whole or 2% milk recommended.
Instructions
Preparation of the Crust
- Preheat your oven to 350°F (175°C).
- In a mixing bowl, combine the all-purpose flour, melted butter, and powdered sugar. Stir until evenly moistened.
- Press the mixture firmly into the bottom of a greased 9x13 inch baking dish.
- Bake for about 15 minutes or until set and just barely golden on the edges.
- Let it cool completely before adding the cream cheese layer.
Cream Cheese Layer
- In another bowl, beat the softened cream cheese and granulated sugar until smooth and fluffy.
- Gently fold in the whipped topping until light and airy.
- Spread this mixture over the cooled crust, sealing the edges.
Lemon Layer
- In a separate bowl, whisk together the lemon juice, lemon pudding mix, and milk until thickened.
- Pour this mixture over the cream cheese layer and spread evenly.
Chilling
- Refrigerate for at least 2 hours or until set.
- Cut into squares using a sharp knife. Serve chilled.
Notes
For a make-ahead option, assemble the dessert 6-24 hours in advance. Store leftovers tightly covered in the refrigerator for up to 3-4 days.