👉 Let’s stay connected on social media!

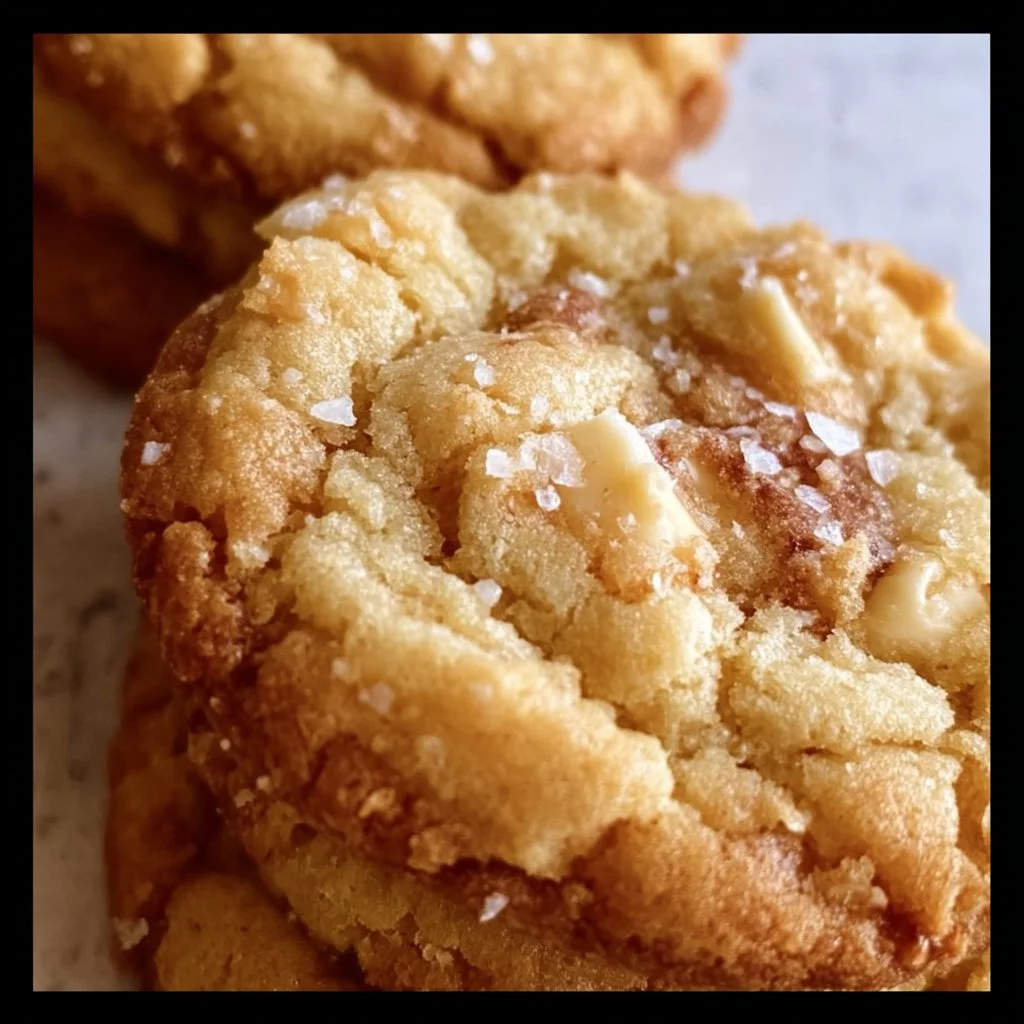
Perfect Cookies

!
QUICK REMINDER:
While we have provided a jump to recipe button, please note that if you scroll straight to the recipe card, you may miss helpful details about ingredients, step-by-step tips, answers to common questions and helpful guidance to improve your results.
Perfect cookies. Perfect cookies!! I’m not kidding, these Perfect Cookies are the chewy, golden, everybody-begs-for-the-recipe kind of cookie you dream about, and they come together with pantry basics you probably already have. These perfect cookies hit that sweet spot of crispy edges, soft middles, and melty chocolate, and they’re just as good for after-school snacks as they are for holiday cookie trays or meal prep desserts. I stumbled into this version years ago when I was still teaching and needed a “fail-proof” cookie for a school bake sale… and once I tweaked it, tested it, then tweaked again, this became THE cookie recipe my Austin neighbors request over and over and over.
They freeze beautifully, they use simple ingredients, and you can totally make them your own with chocolate chips, nuts, or nothing at all. These Perfect Cookies are cozy, forgiving, and honestly pretty life-improving. You can absolutely do this, even if you think you’re “not a baker” — I promise, by the end you’ll feel like the cookie person in your friend group.
Why These Really Are Perfect Cookies
Here’s why these Perfect Cookies earn their name again and again, in my kitchen and probably in yours. First, they’re wildly reliable: the dough is forgiving, the bake time is flexible, and they still come out chewy and gorgeous even if you get distracted (been there). Second, the texture is that dream combo: crisp edges, soft centers, and that slight bend when you break one in half that just makes you feel like, okay yes, THIS is a cookie. These cookies also work for everyone at the table — lunchbox treat for kids, “just one more” snack for your partner, and a secretly low-stress dessert for you.
They’re easy to adapt if you’re watching sugar or trying to keep things a bit lighter; you can swap part of the flour with whole wheat, use slightly less sugar, or go heavy on nuts and still get such a good result. Pinterest folks love them because they’re simple and pretty; meal preppers love them because the dough freezes like a dream; busy parents love them because it’s one bowl plus a little whisking, not a whole production. And I just keep coming back to this: they are consistently GOOD. Like, “how are they this good again?” good. Perfect Cookies that actually feel, you know, perfect.
Ingredients You’ll Need (and How to Make Them Yours)
1 cup unsalted butter, softened
1 cup granulated sugar
1 cup brown sugar, packed
2 large eggs
2 teaspoons vanilla extract
3 cups all-purpose flour
1 teaspoon baking soda
1/2 teaspoon salt
Chocolate chips or nuts (optional)
The butter is your flavor hero here — unsalted lets you control the salt, which matters more than we think. If all you’ve got is salted butter, you can totally still make these; just reduce the added salt to a pinch. The mix of granulated and brown sugar gives that caramel-y chew; if you like a deeper flavor or a softer cookie, bump up the brown sugar a bit and dial down the white.
All-purpose flour keeps things classic, but if you want a tiny health nudge, you can swap up to 1 cup for white whole wheat flour; they’ll be a touch heartier but still very cookie-ish, not health food weird. Vanilla is where I don’t skimp — I buy big bottles at Costco or Trader Joe’s because we use it constantly, and it’s cheaper that way. For mix-ins, chocolate chips are the obvious star, but chopped walnuts, pecans, or even sunflower seeds if you’re nut-free all work beautifully.
If you’re budget-conscious (same), watch for butter and sugar sales and stock up; these are all shelf-stable or freezable basics, so you’ll always be halfway to a batch of Perfect Cookies. And please, play — dark chocolate, mini chips, half-and-half, or no chips at all for “plain” sugar cookies. This recipe WANTS you to make it yours.
Step-by-Step: How to Bake Perfect Cookies Without Stress
First, preheat your oven to 350°F (175°C). This seems obvious, but starting with a hot oven is half the battle for good texture. Turn it on before you even pull out your butter so you’re not waiting around, and if your oven runs hot, consider dropping to 340°F — you know your oven best.
Now, in a large bowl, cream the softened butter, granulated sugar, and brown sugar until smooth. This takes about 2–3 minutes with a hand mixer, a bit longer by hand. Don’t worry if it looks grainy at first; it’ll come together. If your butter was too cold and you’re fighting it, let the bowl sit on the counter for 5 minutes and try again — no panic needed.
Next, beat in the eggs one at a time, then stir in the vanilla. You want the eggs fully mixed before you add the next one, but you don’t have to be fussy. If the mixture looks a little split or weird, it will smooth out once the flour goes in, so truly, don’t freak out.
In another bowl, whisk together the flour, baking soda, and salt. This quick whisk (30 seconds) helps avoid little pockets of baking soda, which can give bitter bites. Gradually blend the dry ingredients into the wet mixture — I like to add it in 2–3 portions so flour doesn’t fly everywhere. Mix just until you don’t see streaks of dry flour; overmixing can make tough cookies, and we want soft, pillowy ones.
Fold in chocolate chips or nuts if using. Use a spatula, not the mixer, so you don’t crush everything. If the dough feels too soft or sticky, pop it into the fridge for 15–20 minutes; slightly chilled dough holds shape better and bakes up thicker.
Drop by rounded tablespoons onto ungreased baking sheets, spacing them a couple of inches apart. You can use a cookie scoop if you have one (I love a 1.5 tablespoon scoop for uniform cookies and even baking). If they look a little rustic, that’s okay — they’ll spread and smooth in the oven.
Bake for 9 to 11 minutes, or until the cookies are lightly browned around the edges. The centers should still look a bit soft and pale — that’s your chewy magic. If you wait until they look fully done, they’ll be overbaked once they cool. When in doubt, pull them a minute early; underdone is fixable, overdone is just… crunchy.
Let them cool on the baking sheets for a few minutes before transferring to wire racks. This “carryover baking” sets the centers without drying them out, so don’t rush it. If a few look too puffy, you can very gently tap the tray on the counter right after baking (cookie shop trick!) to get that beautiful crinkly top.
Pro Tips for the Best Ever Batch
For ultra-chewy cookies, slightly underbake and let them fully cool on the rack; they’ll firm up but stay soft for days. If you prefer thicker cookies, chill the dough at least 30 minutes and keep the scoops tall rather than flattened. You can make the dough ahead — it keeps in the fridge for up to 3 days, or freeze scooped balls on a tray, then toss into a freezer bag for easy “bake 4 cookies at a time” nights.
Store baked cookies in an airtight container at room temperature for up to 5 days, with a slice of bread inside if you live somewhere dry; the bread keeps them extra soft (my kids think this is cookie magic). To reheat, 10–15 seconds in the microwave brings back that warm, fresh-baked vibe. Batch cooking? Double the recipe, bake one tray now, freeze the rest of the dough — future you will be SO grateful.
For kids, you can make mini cookies using teaspoon-sized scoops and shave a minute or two off the bake time; tiny hands love tiny cookies. And if something goes sideways — too flat, too puffy — that’s okay. You’re learning, just like in a classroom. Note what happened, adjust next time (chill longer, or bake a smidge less), and keep going. You absolutely got this.
How to Serve These Perfect Cookies
There are a million sweet ways to serve these Perfect Cookies, and honestly, none of them are wrong. Warm from the oven with a cold glass of milk is the classic, of course, but they’re also fantastic sandwiching a scoop of vanilla or chocolate ice cream for quick ice cream sandwiches. For a slightly more “grown-up” dessert, I like to crumble a warm cookie over Greek yogurt with some berries — it feels fancy but still just cookie night.
For parties, pile them on a big platter with different chip options (dark chocolate, white chocolate, nuts, plain) so everyone can pick their favorites. For casual evenings, I leave a plate by the coffee maker so we have a cookie with morning coffee (not diet food, but very worth it). Leftovers can be crumbled over fruit, stirred into homemade trail mix, or even pressed into a quick cookie crust for a cheesecake style dessert.
And emotionally? Serve them when your people need a little extra love. New neighbor? Welcome cookies. Rough school day? Comfort cookies. Busy Sunday meal prep? Add cookies to the plan so you know there’s something sweet waiting.
Questions About Perfect Cookies, Answered
Yes! You can chill the dough in the fridge for up to 3 days or freeze scooped dough balls for up to 2 months. Bake straight from frozen, just add 1–2 extra minutes to the bake time.
That usually means the butter was too soft or the dough too warm. Next time, chill the dough 20–30 minutes before baking and make sure you’re measuring your flour fairly level, not super light.
You can safely cut the total sugar by about 1/4 cup and still get a nice texture. The cookies will be slightly less chewy and a bit less golden, but still very delicious and totally worth it.
Absolutely. They turn into a really lovely vanilla-brown sugar cookie, kind of like a soft sugar cookie with more flavor. You can also add cinnamon or chopped nuts if you want a little extra something.
Store them in an airtight container once completely cool, and add a slice of sandwich bread to the container. The cookies will absorb the moisture and stay soft while the bread dries out.
These Perfect Cookies are simple, cozy, and honestly kind of unstoppable — easy enough for a weeknight, special enough for a celebration, endlessly customizable so you can really make them yours. If you try them, tell me how they turned out, what you swapped, what your kids or friends said; I LOVE those details. Tag me if you share photos on social or drop a comment so we can troubleshoot and celebrate together. Now go preheat that oven and get your cookie magic started…
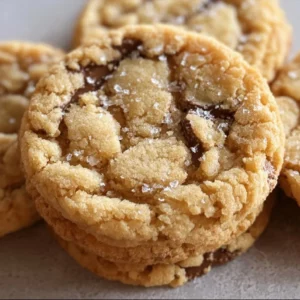
Perfect Cookies
These Perfect Cookies are chewy, golden, and packed with melty chocolate. Easy to make with pantry basics, they’re perfect for any occasion.
Ingredients
For the cookie dough
- 1 cup unsalted butter, softened Use unsalted to better control salt; can substitute with salted butter and reduce added salt to a pinch.
- 1 cup granulated sugar
- 1 cup brown sugar, packed For deeper flavor, increase brown sugar and decrease granulated sugar.
- 2 large eggs Beat in one at a time for best incorporation.
- 2 teaspoons vanilla extract Don't skimp on good quality vanilla.
- 3 cups all-purpose flour Can substitute 1 cup with white whole wheat flour for a heartier texture.
- 1 teaspoon baking soda
- 1/2 teaspoon salt
- 1 cup chocolate chips or nuts (optional) Use as desired for customization.
Instructions
Preparation
- Preheat your oven to 350°F (175°C).
- In a large bowl, cream the softened butter, granulated sugar, and brown sugar until smooth, about 2–3 minutes.
- Beat in the eggs one at a time, then stir in the vanilla.
- In another bowl, whisk together the flour, baking soda, and salt.
- Gradually blend the dry ingredients into the wet mixture until just combined.
- Fold in chocolate chips or nuts gently.
- If dough is too soft, chill in the fridge for 15–20 minutes.
Baking
- Drop rounded tablespoons of dough onto ungreased baking sheets, spacing them a couple of inches apart.
- Bake for 9 to 11 minutes until lightly browned around the edges; centers should look soft.
- Let cool on the baking sheets for a few minutes before transferring to wire racks.
Notes
For ultra-chewy cookies, slightly underbake. Store baked cookies in an airtight container with a slice of bread to keep them soft.